Attention:You’ve reached a page related to the Tyk Classic Portal. If you were searching for API documentation of the new Tyk
Developer Portal please use the latest
Postman collection page.
Future deprecation of Tyk Classic PortalThis product is no longer actively developed as it has been superseded by the new Tyk Developer Portal.
Please note that the Tyk Classic Portal now has limited support and maintenance. Please contact us at support@tyk.ioif you have any questions.
Future deprecation of Tyk Classic PortalThis product is no longer actively developed as it has been superseded by the new Tyk Developer Portal.
Please note that the Tyk Classic Portal now has limited support and maintenance. Please contact us at support@tyk.ioif you have any questions.
- Cloud
- Self-Managed
Tutorial: Add an API and Swagger based Docs to a Portal Catalog
You can use the Tyk Dashboard to create a portal that allows developers to access the APIs you create.Prerequisites for a portal catalog entry:
- An API configured and live on your Tyk Gateway
- The API must be Closed (i.e. it must use either Auth Token or Basic Auth security mechanisms)
-
A security policy configured to grant access to the API
If you intend to use the developer portal, you need to configure it with a different hostname to your dashboard. The developer portal cannot be accessed via an IP address.
Without these prerequisites, you may get a 404 error when trying to access the portal.
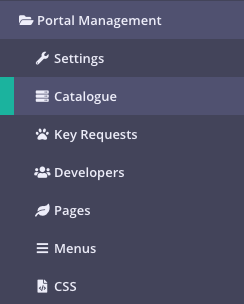
Step 1: Select “Catalog” from the “Portal Management” section

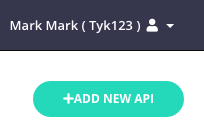
Step 2: Click ADD NEW API
This page displays all of the catalog entries you have defined, whether they have documentation attached and whether they are active on the portal or not. Click ADD NEW API.
Add API Details
Step 3: Show the API
By default your entry will be published automatically to your Portal Catalog. Deselect this option to not publish it.Step 4: Set a Public API Name and associate a security policy
When publishing an API with Tyk, you are not publishing a single API, but instead you are publishing access to a group of APIs. The reason for this is to ensure that it is possible to compose and bundle APIs that are managed into APIs that are published. Tyk treats these as separate, so the thing that is published on the portal is not the same as the actual API being managed by Tyk, one is a logical managed API and the other (the published catalog version) is a facade.Since API policies allow the bundling of access control lists of multiple APIs, it is actually this that you are granting access to. Any developer that signs up for this API, will be granted a bearer token that has this policy as a baseline template, or as a “plan”.
- You will only see security policies for valid APIs in the Public API Name drop-down list for the policies
- The Available policies selected must be “closed” (see Prerequisites)
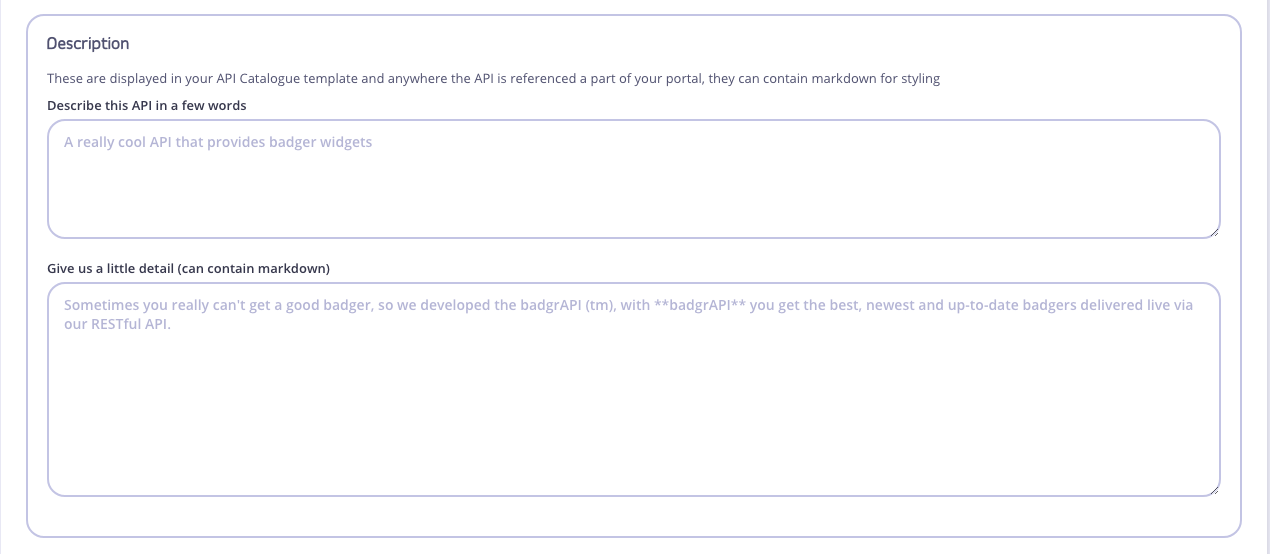
Step 5: Add a description
All catalog entries can have a description. You can use Markdown formatting in these fields:
Step 6: Attach Documentation
You can add import documentation in the following formats:- From a Swagger JSON file (OpenAPI 2.0 and 3.0 are supported)
- From a Swagger URL
-
From API Blueprint
Support for API Blueprint is being deprecated. See Importing APIs for more details.
Settings Options
We are not going to do anything with these options for this tutorial. For more information:- See OAuth Clients for details of using OAuth with your catalog entry.
- See Portal Customizationfor details about redirection of key requests and developer signup customization.
Step 6: Save the API
To save the API, click SAVE.Step 7: Take a look
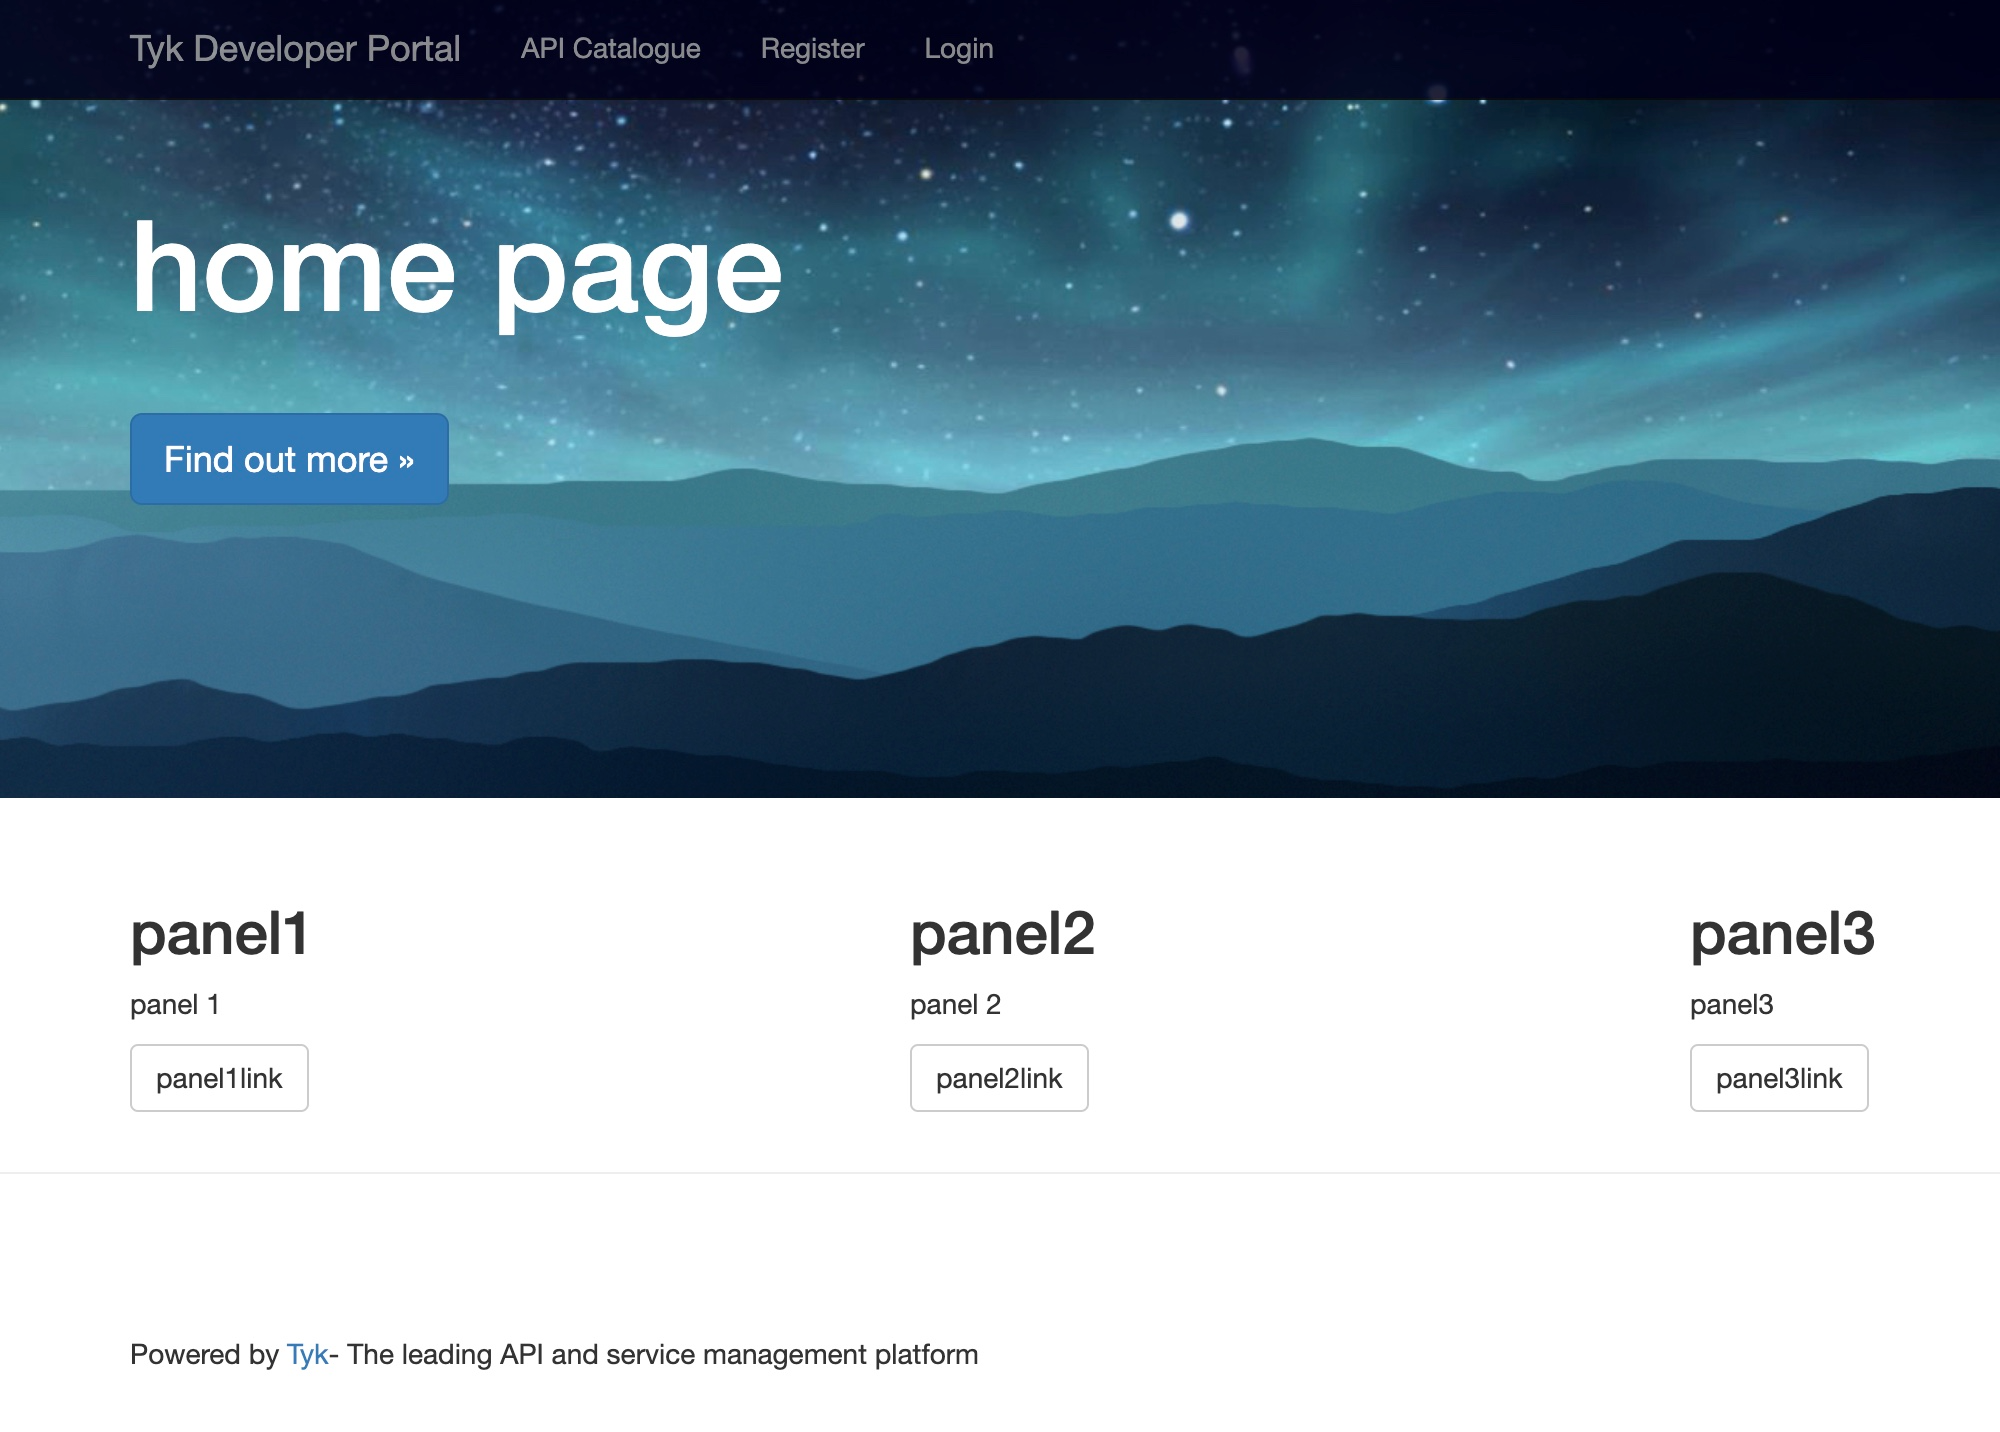
You can now visit your portal to see the API catalog entry. Select Open Your Portal from the Your Developer Portal menu: