

Overview
The Tyk Dashboard permission system can be extended by writing custom rules using an Open Policy Agent (OPA). The rules engine works on top of your Dashboard API, which means you can control not only access rules, but also behavior of all Dashboard APIs (except your public developer portal). To give you some inspiration here are some ideas of the rules you can implement now:- Enforce HTTP proxy option for all APIs for which the target URL does not point at the internal domain
- Control access for individual fields. For example, do not allow changing the API “active” status (e.g. deploy), unless you have a specific permission set (and make new permissions to be available to the Dashboard/API). Custom permissions can be creating using the Additional Permissions API
- Have a user(or group) which has read access to one APIs and write to another
Configuration
By default the Dashboard OPA engine is turned off, and you need to explicitly enable it via your Dashboardtyk_analytics.conf file.
You can then control OPA functionality on a global level via your tyk_analytics.conf file, or at an organization level using either the OPA API or the Dashboard.
Example
Language intro
The Open Policy Agent (OPA, pronounced “oh-pa”) is an open source, general-purpose policy engine that unifies policy enforcement across the stack. OPA provides a high-level declarative language (Rego) that lets you specify policy as code and simple APIs to offload policy decision-making from your software. (source: https://www.openpolicyagent.org/docs/latest/)Tyk policy primitives
The main building block which is required for controlling access is a “deny” rule, which should return a detailed error in case of a rejection. You can specify multiple deny rules, and they will all be evaluated. If none of the rules was matched, user will be allowed to access the resource. A simple deny rule with a static error message can look like:deny rules, you can also modify the requests using patch_request.
You should respond with a JSON merge patch format https://tools.ietf.org/html/rfc7396
For example:
Getting Tyk Objects
In some cases, you may want to write a rule which is based on existing Tyk Object. For example, you can write a rule for a policy API, which depends on the metadata of the API inside it. The policy engine has access to theTykAPIGet function, which essentially just does a GET call to the Tyk Dashboard API.
Example:
TykDiff function, combined with a TykAPIGet call to get the original object.
Example:
Developer guide
Since Opa rules are declarative, to test them in the majority of the cases, you can test your rules without using the Tyk Dashboard, and using this Rego playground. When it comes to theTykAPIGet and TykDiff functions, you can mock them in your tests.
In order to understand how the Dashboard evaluates the rules, you can enable debugging mode by setting the security.open_policy.debug option, and in the Dashboard logs, you will see the detailed output with input and output of the rule engine. It can be useful to copy-paste the Dashboard log output to the Rego playground, fix the issue, and validate it on the Dashboard.
When you modify the dashboard.opa file, you will need to restart your tyk Dashboard.
Using the Open Policy Agent in the Dashboard
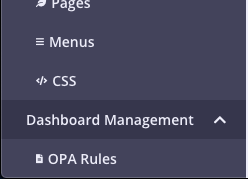
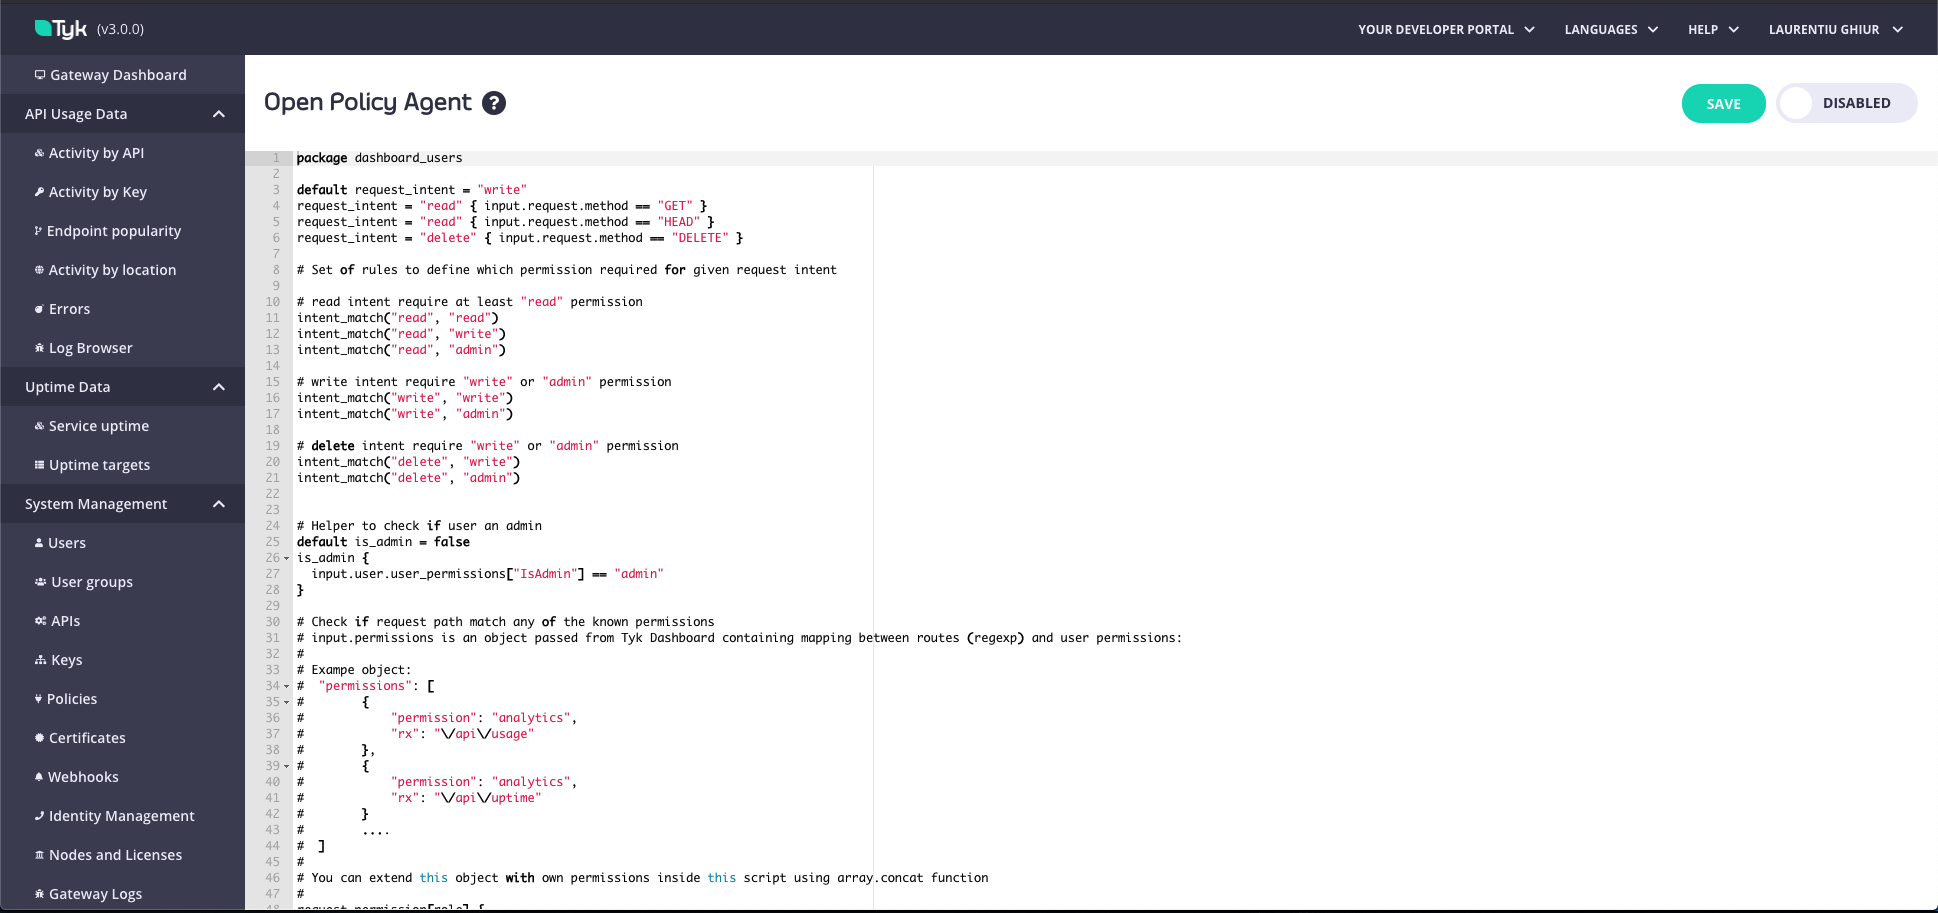
As well as configuring OPA rules through the API, admin users can view and edit OPA rules from within the Tyk Dashboard. The advantage of configuring your OPA rules in the Dashboard is that you can use a code editor for it, emulating a proper developer experience. There are two ways you can do this:- From the OPA Rules menu. From the Dashboard Management menu, select OPA Rules. You can view and make any changes and select whether your OPA rules should be enabled or disabled.
-
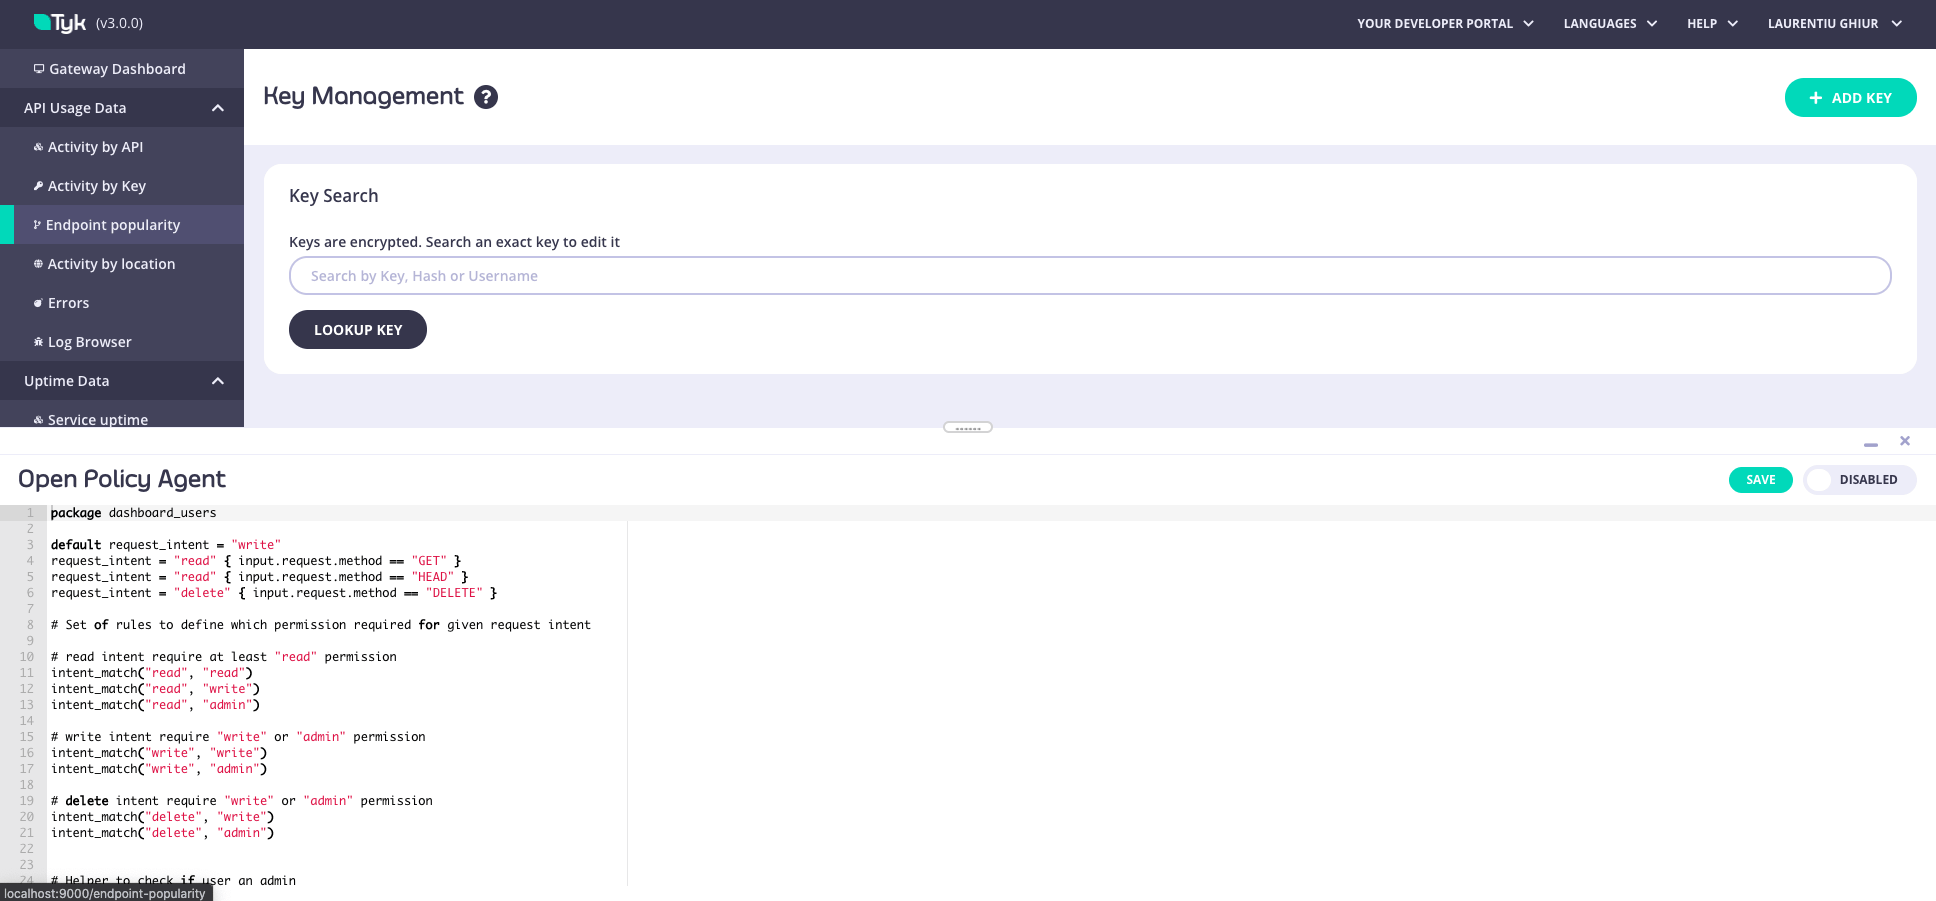
From Developer Tools. Using the keyboard shortcut
CMD+SHIFT+D(orCTRL+SHIFT+Dfor PC), you can open the Developer Tools panel on any page in the Dashboard and configure the permissions. Updates are applied in real-time.OPA rules can only be accessed by admin role users in the Dashboard.
OPA Rule Precedence: Organization-Level Rules Override the File
Tyk Dashboard evaluates OPA rules from one of two sources, with a strict precedence:- Organization-level rules (database). If a ruleset is stored at the organization level, Tyk Dashboard uses it and ignores the file.
- File-based default (
schema/dashboard.rego). Used only when no organization-level ruleset exists.
- the organization is first bootstrapped, where the default ruleset is seeded, or
- you save rules through the OPA API (
PUT /api/org/opa) or the Tyk Dashboard UI.
Revert to the File-Based Ruleset
To make Tyk Dashboard fall back toschema/dashboard.rego, clear the organization-level rules:
-
Temporarily enable the OPA API in
tyk_analytics.confand restart:On Kubernetes, update theopablock invalues.yaml: -
Back up the current rules:
-
Clear them with an empty ruleset:
-
Confirm
GET /api/org/opanow returns theschema/dashboard.regoruleset. Tyk Dashboard now enforcesschema/dashboard.rego, so your OPA policies come from the file mount. Setenable_api: falseagain and restart.
PUT the backup:
Dashboard OPA rules
Configuring Open Policy Agent Rules
This is an end-to-end worked example showing how to configure Open Policy Agent rules with some additional permissions.Use Case
Tyk’s RBAC includes out of the box permissions to Write, Read, and Deny access to API Definitions, but what if we want to distinguish between those users who can create APIs and those users who can edit or update APIs? Essentially, we want to extend Tyk’s out of the box RBAC to include more fine grained permissions that prevent anAPI Editor role from creating new APIs, but allow them to edit or update existing APIs.
High Level Steps
The high level steps to realize this use case are as follows:- Create additional permissions using API
- Create user
- Add Open Policy Agent Rule
- Test new rule
Create additional permissions
To include theAPI Editor role with additional permissions, send a PUT Request to the Dashboard Additional Permissions API endpoint /api/org/permissions
Sample Request
In order to add the new role/permissions use the following payload.
Remember to set the
authorization header to your Tyk Dashboard API Access Credentials secret, obtained from your user profile on the Dashboard UI.This assumes no other additional permissions already exist. If you’re adding to existing permissions you’ll want to send a GET to /api/org/permissions first, and then add the new permission to the existing list.Create user
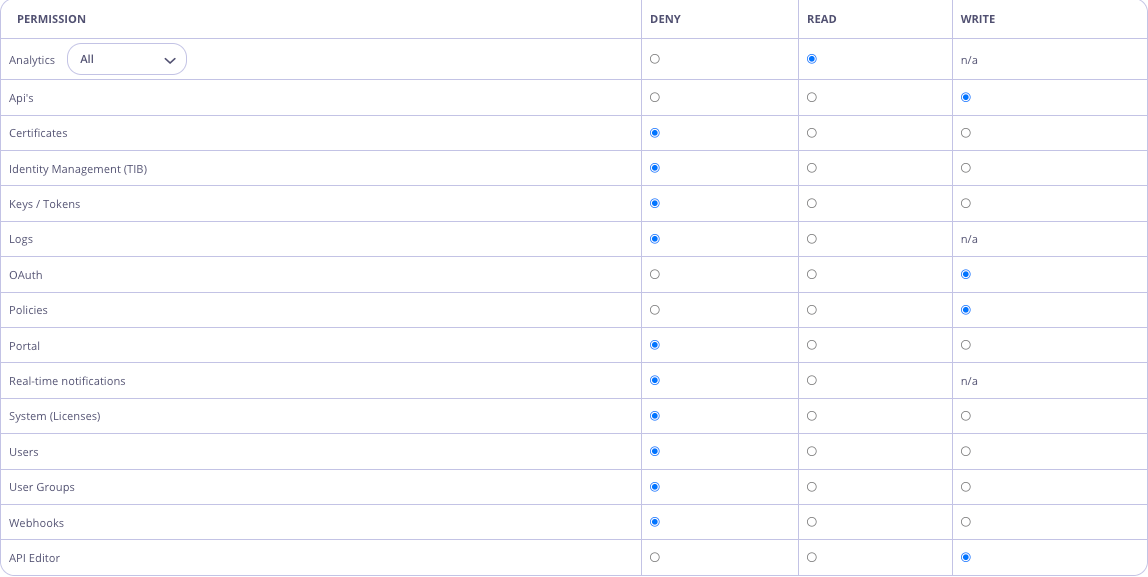
In the Dashboard UI, navigate to System Management -> Users, and hit theAdd User button. Create a user that has API Write access and the newly created API Editor permission, e.g.
Add Open Policy Agent (OPA) Rule
In the Dashboard UI, navigate to Dashboard Management -> OPA Rules Edit the rules to add the following:Test
Login to the Dashboard UI as the newAPI Editor user and try to create a new API. You should see an Access Denied error message. Now try to update an existing API. This should be successful!!